Fluffy Gluten-Free Banana Pancakes with Oats and Maple Syrup

Fluffy Gluten-Free Banana Pancakes with Oats and Maple Syrup

Servings

4

Prep Time

10 minutes

Cook Time

10 minutes

Calories

208

Cuisine

American

Category

Breakfast

If you think going gluten-free means giving up comfort food classics, these banana oat pancakes will prove otherwise. Soft, fluffy, and naturally sweetened with ripe bananas, these pancakes are made without refined flour or added sugar—just simple ingredients blended into a quick, wholesome batter.


 Using oats as the base, they’re hearty and satisfying while remaining light and tender. Whether you're gluten-sensitive, coeliac, or just trying to eat clean, these are the pancakes you'll make on repeat.


Best of all, they come together in a blender, making cleanup a breeze. Customise them with cinnamon, blueberries, or even a handful of chocolate chips. Stack them high, drizzle with warm maple syrup, and add fresh fruit on top for a nourishing breakfast that feels like a treat. 


They're kid-approved, freezer-friendly, and endlessly delicious. Gluten-free or not, you’ll love every bite.

Fluffy Gluten-Free Banana Pancakes with Oats and Maple Syrup

Ingredients

  • 2 ripe bananas, mashed

  • 2 large eggs

  • 1/2 cup unsweetened almond milk (or milk of choice)

  • 1 teaspoon vanilla extract

  • 1 cup gluten-free rolled oats

  • 1/2 teaspoon baking powder

  • 1/2 teaspoon cinnamon

  • Pinch of salt

  • Butter, coconut oil, or cooking spray for the pan

Directions

  1. In a blender, combine mashed bananas, eggs, almond milk, and vanilla extract. Blend until smooth.

  2. Add the oats, baking powder, cinnamon, and salt to the blender. Blend again until the mixture is thick and smooth. Let the batter rest for 5 minutes to thicken.

  3. Heat a non-stick skillet or griddle over medium heat and lightly grease with butter or oil.

  4. Pour 1/4 cup of batter per pancake onto the hot skillet.

  5. Cook for 2–3 minutes, or until bubbles form on top and edges are set. Flip and cook for another 1–2 minutes until golden and cooked through.

  6. Serve warm with maple syrup, sliced bananas, berries, or nut butter.

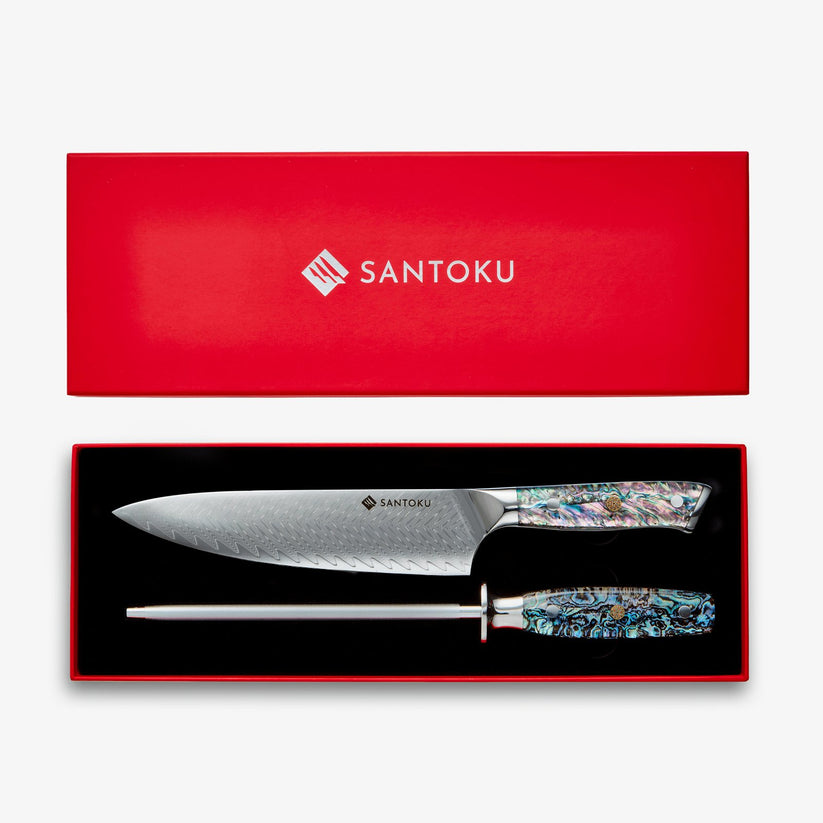
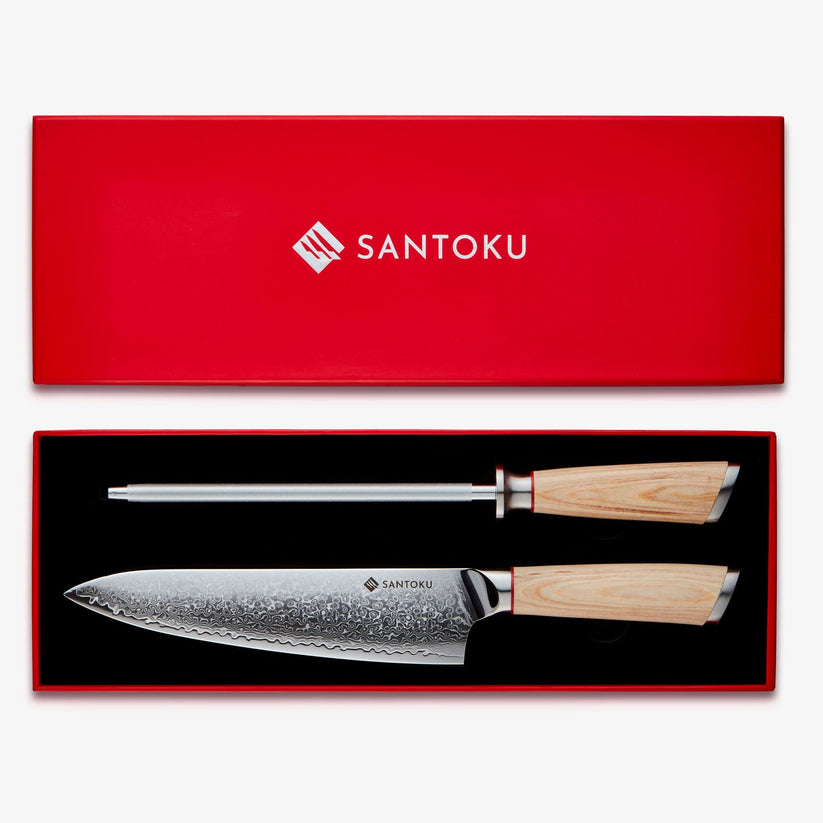
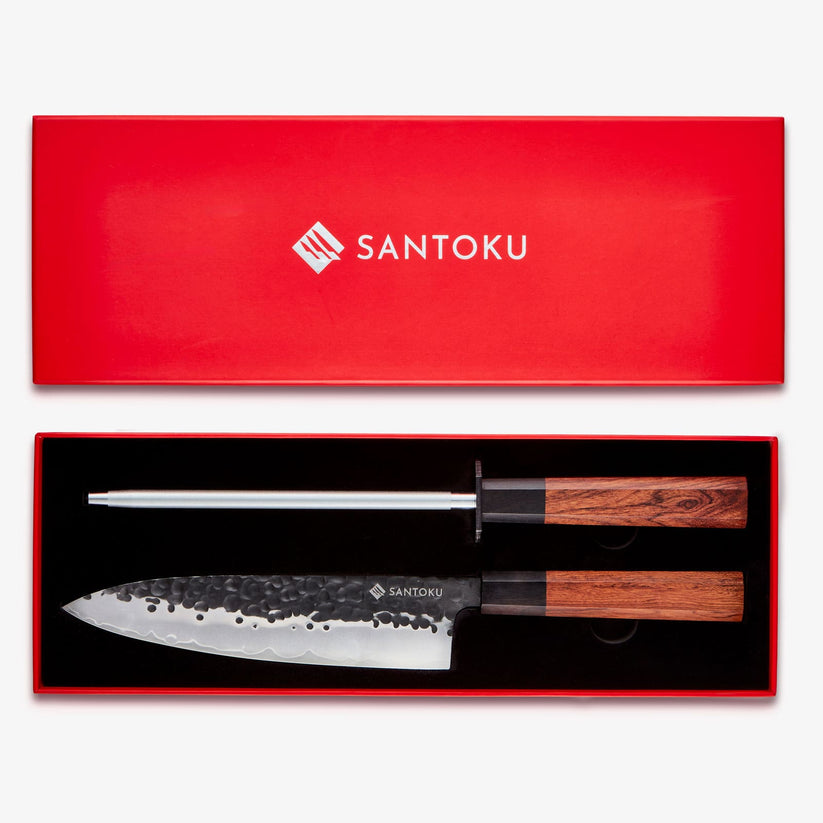
Upgrade Your Kitchen Tools

Make recipe prep easier with professional-grade knives

Browse Collection

10 Tips for Making Gluten-Free Pancakes

  1. Use certified gluten-free oats to avoid cross-contamination.

  2. Let the batter rest 5 minutes to thicken before cooking.

  3. Blend until smooth, but don’t over-blend—just until oats are broken down.

  4. Cook on medium heat to prevent burning before cooking through.

  5. Use a light greasing of the pan to prevent sticking.

  6. Flip gently once bubbles form and edges set.

  7. Add blueberries, nuts, or chocolate chips for variety.

  8. Freeze leftovers with parchment between pancakes for easy grab-and-go meals.

  9. Reheat in a toaster or dry skillet for best texture.

  10. Serve with nut butter, yogurt, or fresh fruit for a balanced breakfast.


Serve it with Suggestions

  • Maple syrup or honey drizzle

  • Fresh berries or sliced banana

  • Dollop of Greek yogurt or coconut yogurt

  • Sprinkle of cinnamon or chopped walnuts

  • Cup of black coffee or chai latte


FAQs

Q: Are these pancakes 100% gluten-free?
A: Yes—if you use certified gluten-free oats, this recipe is entirely gluten-free.

Q: Can I make them vegan?
A: Yes! Replace eggs with flax eggs and use plant-based milk.

Q: Can I store the batter?
A: It’s best used fresh, but you can refrigerate it for up to 24 hours.

Q: Do I need to use a blender?
A: A blender gives the smoothest texture, but you can also mix well by hand if using oat flour.

Q: Can I use quick oats instead of rolled oats?
A: Yes, but reduce the blending time—they absorb liquid faster.

Chef's Recommendation

"A sharp knife is your best friend in the kitchen. For recipes like this, I always reach for my Chikashi chef knife - it gives me the control and precision I need for perfect results every time."
Chef's Note: A sharp knife not only makes prep work faster but also safer - dull knives require more pressure and are more likely to slip.

Discover why our Japanese-style knife sets are trusted by home cooks and professionals alike.

Shop Professional Knives →
Back to blog